Technical documents that describes the steps required to install, apply, or maintan ppf.
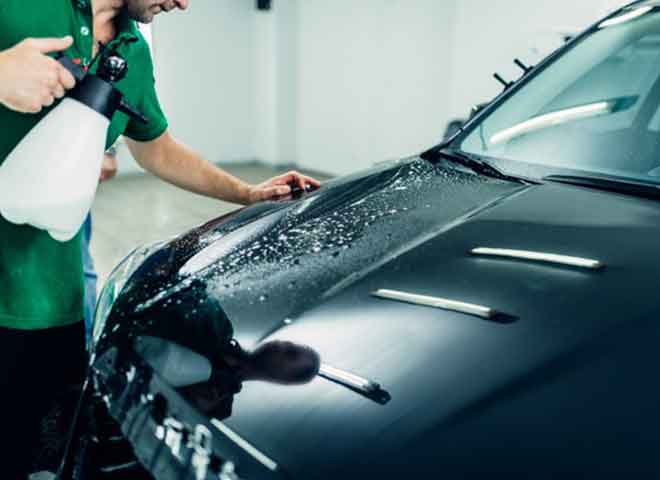
SURFACE PREPARATION:
• Vehicle painted surface needs to be inspected thoroughly for Original & repainting areas to confirm suitability of GarwarePPF film application.
• Wash hands thoroughly before application to avoid film contamination, such as fingerprints, which are difficult to remove.
• Spray the entire vehicle with IPA: Water (15:85), and clean with rubber pad in one direction to remove dust, bugs, tar or oil stains on the paint surface.
• Apply soap solution (5 – 6 drops of J&J Baby shampoo in 1 liter water) and clean immediately with lint free cloth. Repeat cleaning process for thorough cleaning.
• The entire surface preparation and cleaning process takes around 5 to 6 hrs.
APPLICATION CONDITIONS:
• Paint Protection Film should be stored and installed at 20°C to 30°C to ensure that the film is flexible and the adhesive retains its full tack. Application should be done in a dust free area and away from the direct sunlight and not in areas exposed to the outside air which may introduce contamination between film and the car surface.
• To start with the application of PPF, inspect the vehicle surface for repainted portions with DFT Meter to measure the paint thickness at OEM Painted surface and repainted surface (Thickness at repainted surface is always more than OEM Painted surface) and make it clear to customer that PPF applied at repainted portions will not be given any guarantee.

GarwarePPF INSTALLATION
• Preparation of application solutions for installation:
a. GarwarePPF Installation Gel (GIG) is ready to use for application.
b. Soap solution (SS) for Cold weather: 2 to 3 drops in 1000 ml of distilled or purified water) – at 15 to 23 °C.
c. Soap solution (SS) for warm weather: 6 to 7 drops in 1000 ml of distilled or purified water) – at 24 – 32 °C.
d. Tack Solution (TS) – Fill a 1000 ml spray bottle 85% full of water and add 15% Isopropyl Alcohol.
• GarwarePPF film needs to be applied by wet method using either soap solution(SS) or GarwarePPF installation gel (GIG).
• Cut the Paint Protection Film as per area of installation with slight margin around the area.
• Please shake the SS / GIG bottle well before use. Soak hands with SS / GIG Solution.
• Slowly remove protection film and apply SS on the self-healing coating side of PPF.
• Slowly remove Liner film and apply SS / GIG on adhesive / glue side of PPF.
• Spray SS / GIG on installation surface; ensure all installation area is covered by SS / GIG.
• Lay Paint Protection Film on installation surface which is already covered with SS / GIG and ensure proper positioning of PPF.
• Once again apply SS on top side of PPF surface for smooth movement of squeezee for easy removal of SS / GIG solutions applied on Adhesive side of film.
• After proper positioning of PPF start squeezing and pushing the SS / GIG out using recommended squeezee.
• Overlap the squeezee strokes by about 50% to avoid remaining air/water entrapments. During squeezing the film, ensure that complete SS / GIG are removed from the installation area.
• Please note that re-positioning of the film is only possible in the stage of positioning and low squeezee pressure. If done in a later stage small marks or lines might remain visible in the film surfaces.
• For curved areas, it is necessary to firmly pull and stretch the film in order to conform the film around the surfaces. It is recommended to stretch the material without applying any heat, making use of the flexibility of GarwarePPF film.
• To avoid the wrinkles / stretch marks and shock lines steamer can be used at curved surfaces.
• To avoid water marks use first soft squeezee and then use hard squeezee.
• Alcohol Solution (TS) will be needed if the film part requires stretching. Slightly lift the film and spray at the centre of the adhesive side with the Alcohol Solution. Properly position the film and squeezee. The Alcohol Solution washes away the soap and softens the adhesive to allow an instant bond. Keep the adhesive wet during application to facilitate repositioning and avoid stop line.
• Make sure not to overstretch the film. Excessive over stretch may create stretch marks in to the face film. Repositioning at a curved area at latter stage and over stretch may create stretch marks.
• After installation, cut extra PPF film from the edge of installation area.
• After installation of PPF, clean the installation area by water and clean the surface by soft towel (Lint free microfiber towel). Clean residual SS / GIG Solution before drying to avoid water marks.
• After installation of Paint Protection Film, do not wash (with water spray / jet) the car at least for 72 hrs in summer and 7 days in winter.
• Use Installation Gel only on Adhesive side and not on Self-Healing side to avoid Gel marks.
AFTER INSTALLATION CARE
• Clean the film on a regular basis, paying special attention to the edges where dirt can build up.
• Use a microfiber cloth made especially for auto detailing on the critical edges of the film.
• Remove any smashed bugs, tree sap or other materials as soon as possible to prevent corrosive effects.
• Avoid use of abrasive like powder and clay-type cleaners and degreasers, or rough sponges and paper towels.
• Don’t use a power buffer on your film coat, use muscle power only.
• Avoid spraying at the edges of film with a pressure washer or a hose to reduce the chances of lifting.
• To maintain the Gloss and clarity of GarwarePPF Film, application of GarwarePPF Sealant recommended to be applied once in every 2 to 3 months after car washing.
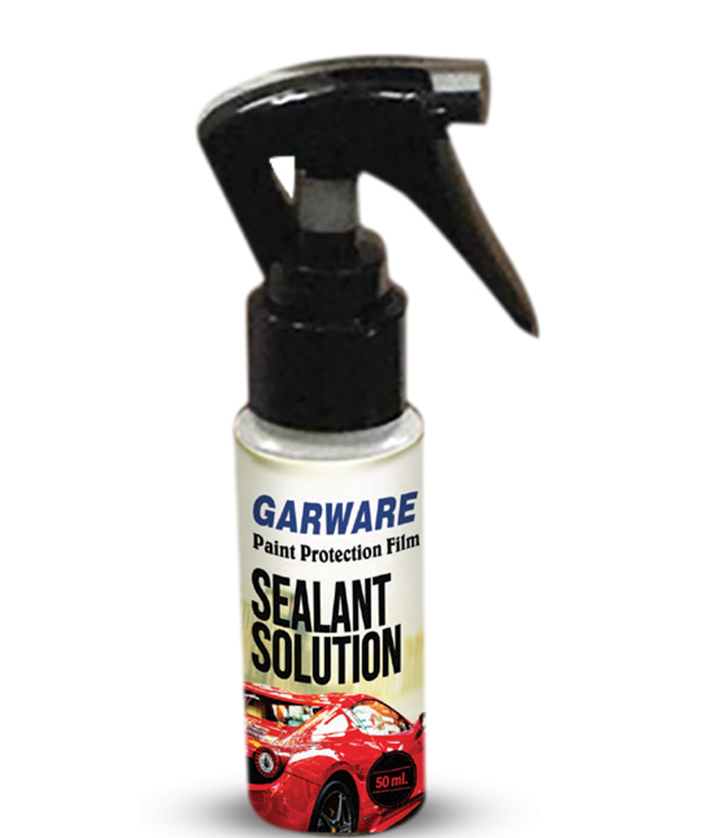
APPLICATION OF SEALANT ON PPF
Sealant attaches to PPF at a molecular level and forms hard barrier coat by sealing pores in the film. Otherwise, these pores get filled with tiny particles from fuel smoke, various air pollutants, and grime from the roads and change the colour of the film.
Other types of cleaners, polishes, Sealants may contain some of surface damaging solvents like Xylene, Toluene, Naphtha etc which will cause the film to discolour.
METHOD FOR APPLICATION:
• Clean the dust on PPF using Wet initially and later dry micro Fibre towel. Thorough cleaning can be achieved by claying on PPF film for 10 Min to remove intricate dust.
• Spray the sealant on PPF after shaking thoroughly. Spread it evenly on the surface with foam or sponge.
• Remove any excess sealant from edges of film using damp microfiber cloth.
• Sealant makes the surface smooth within 10 Min.
• It is recommended to apply sealant on PPF with every car wash.
PPF REMOVAL
• Paint Protection Film can be removed at any time.
• Lift a corner of the film and remove with a pulling action using a 30° to 45° degree angle with the surface.
• If the film is difficult to remove due to age or cold temperature, then a steamer can be used.
• A heat gun or hair dryer can also be used to soften the adhesive. This method may cause the adhesive to split which will require more adhesive to be cleaned off the vehicle.
• Steam softens the film and makes it easier to remove. By using this method, the adhesive stays on the film during removal, and does not transfer much on to the vehicle surface. It makes the vehicle cleaning easy.

STORAGE CONDITION
The Shelf life of this film is one year when stored in its original packaging at the
temperature ranging from 18 to 26°C and Relative Humidity 50 to 60 %.
DO'S
• GarwarePPF installation should be done in a dust free environment.
• Wear lint free & dust free clothes during PPF installation.
• Use new cutter blades during installations. This makes the cutting effortless and smooth. 30° angle blade recommended for precise cutting.
• Recommended temperature range for PPF installation is 20 to 30°C. Avoid direct sunlight while installation.
• Use only recommended gel, solutions and squeeze for installation.
• During installation, ensure that there are no air bubbles left between the PPF and painted surface.
DON'T
• During PPF Installation, don’t allow the installation gel to dry. Squeeze out the Gel immediately after placing the PPF on the surface.
• Don’t apply PPF on repainted surface.
• Don’t apply PPF on surface with coatings like Ceramic, Teflon & Wax.
• Don’t apply GIG on top surface (self healing side) of PPF to avoid gel marks
NOTE:
After installing film, there are chances that few bubbles may get entrapped between PPF and surface. These Bubbles will disappear as the curing proceeds. Curing time is decided by Humidity and Temperature. Avoid touching the film as much as possible during this time.